DefiPOS Documentation
Complete guide to accepting cryptocurrency payments with zero third-party oversight
1. Account Creation
Sign up in seconds. No KYC.
Google (Recommended)
One click with your Gmail account. Done.
Enter an email, create a password, confirm with a one-time code.
2. Cryptocurrency Configuration
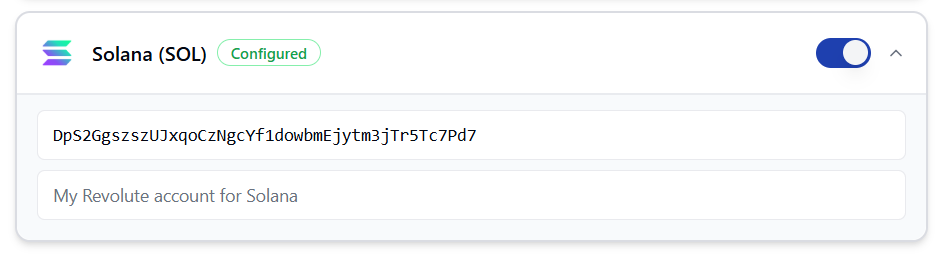
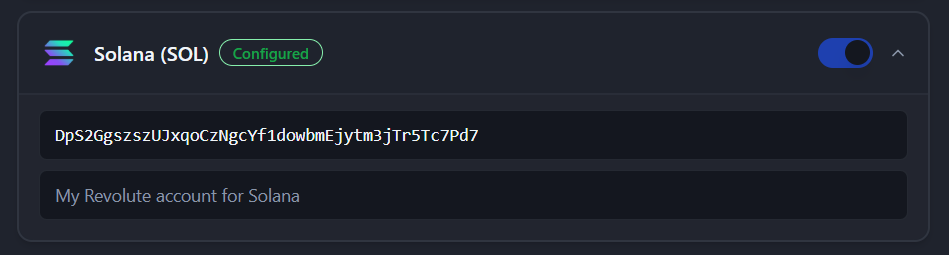
Head to Admin Dashboard → Cryptocurrencies. Toggle on the coins you want to accept and paste in your wallet addresses.
Native Coins
- None currently enabled
Stablecoins
- None currently enabled
Fiat Currency Preference
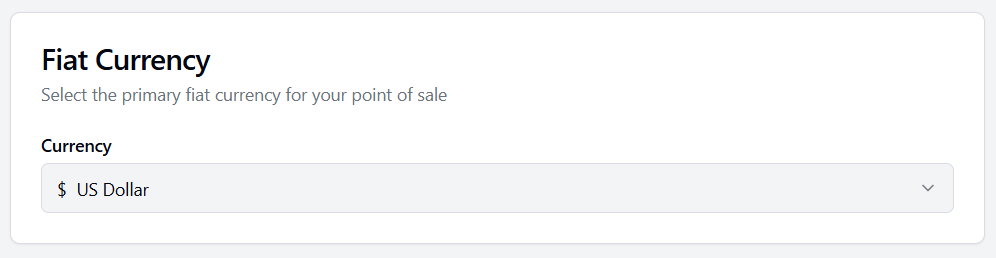
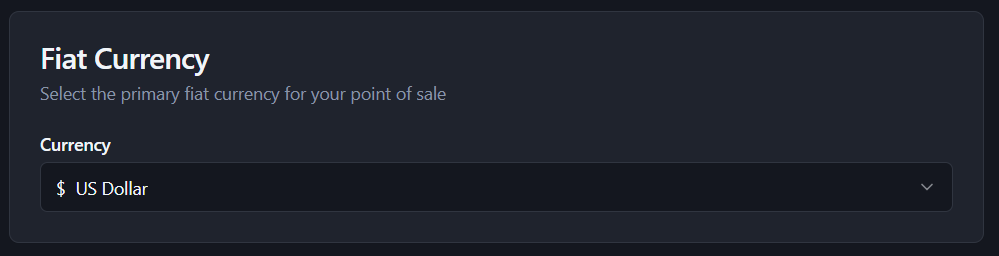
Pick the currency you want to price things in (GBP, USD, EUR, and 150+ others).
3. Business Settings (Optional)
Business Name
The name your customers see at checkout or you can leave it blank.
Customer Display
If you have a second phone or tablet you can turn it into a customer display for busy counters or table service.
4. Transaction History
Keep tabs on what you've taken. Simple and flexible.
- Free plan: view your last 10 transactions.
- Paid plan: view your full history.
- Export: download a CSV whenever you need it (great for accounting).
- Privacy: prefer to keep no records? Turn tracking off entirely. Payments still confirm on-chain but nothing will be stored if you turn it off.
5. Point of Sale
The main screen you'll use day-to-day. Works on any phone, tablet, or laptop.
- Type the price in your local currency.
- Pick which coin the customer wants to pay with.
- Show them the QR code.
- They scan, confirm, and the payment lands in your wallet, usually in seconds.